How to create API keys on WhiteBit?
Attention: Once your API keys are created, they will be displayed ONCE ONLY. Make sure you copy your private API key and public API key and save them in a safe place. Do not share your API keys with anybody.
Login to your account or sign up if you don’t have an account. Move to the account settings, and there, click on the API option.

Click on the Edit button.

Click on the Generate API key button.

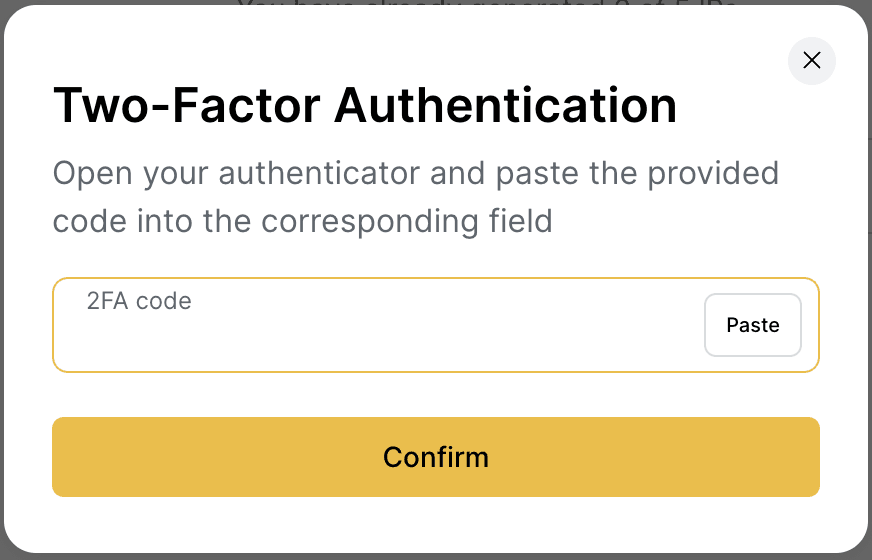
Enter your 2FA code from your authenticator app.

You will be displayed the API key and the Secret key. Note please that the Secret key is displayed once only for security reasons. Once you close the page, the Secret key won’t be available anymore. Copy it in a safe place to be able to use it later.
The Private key doesn’t give access to your account and thus, it can be shared with third parties. You can view it whenever you need.

Give your API key a name so that you can identify it easily, and move to configuring the API permissions.
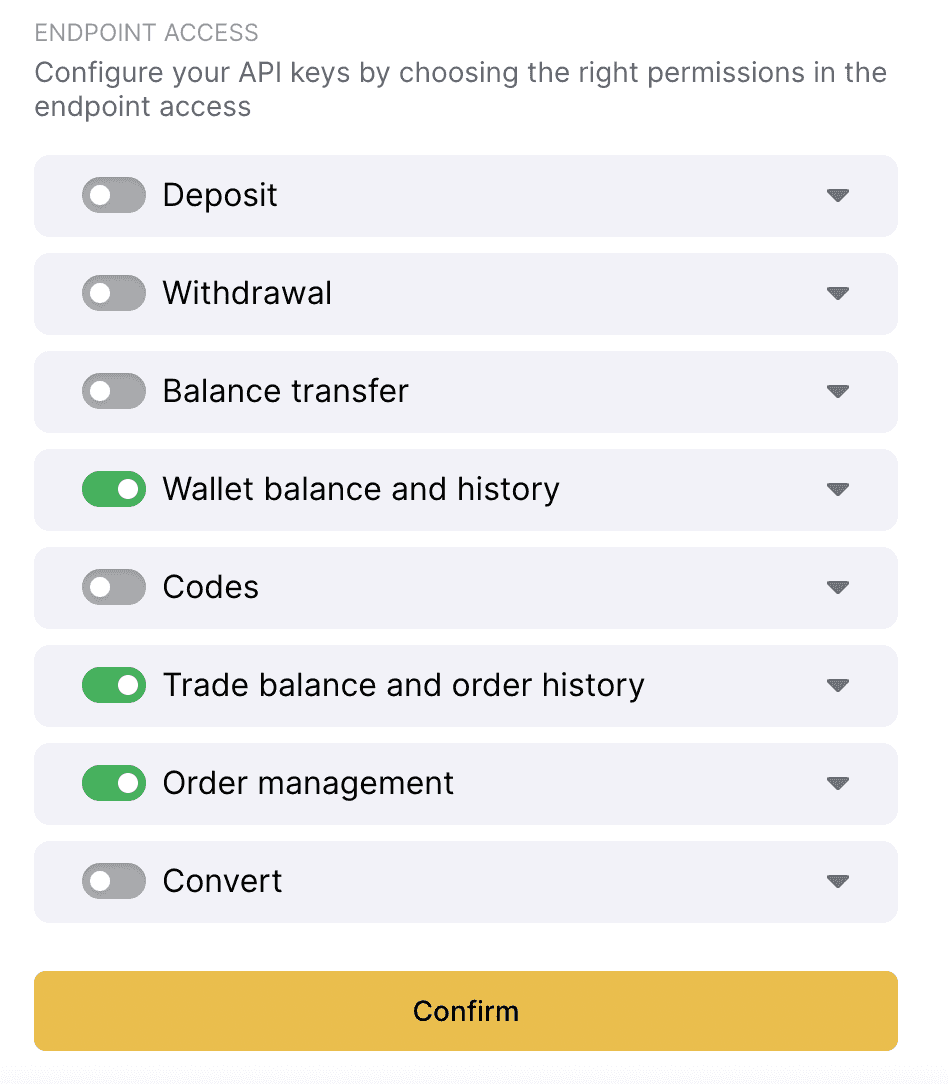
Note please that Bidsbee doesn’t work with API keys that permit withdrawals of funds. Thus, make sure this permission is disabled. Also, disable deposits, balance transfer, and codes.

After setting permissions up, click on the Confirm button to save the settings.
Enter your 2FA code from your authenticator app.


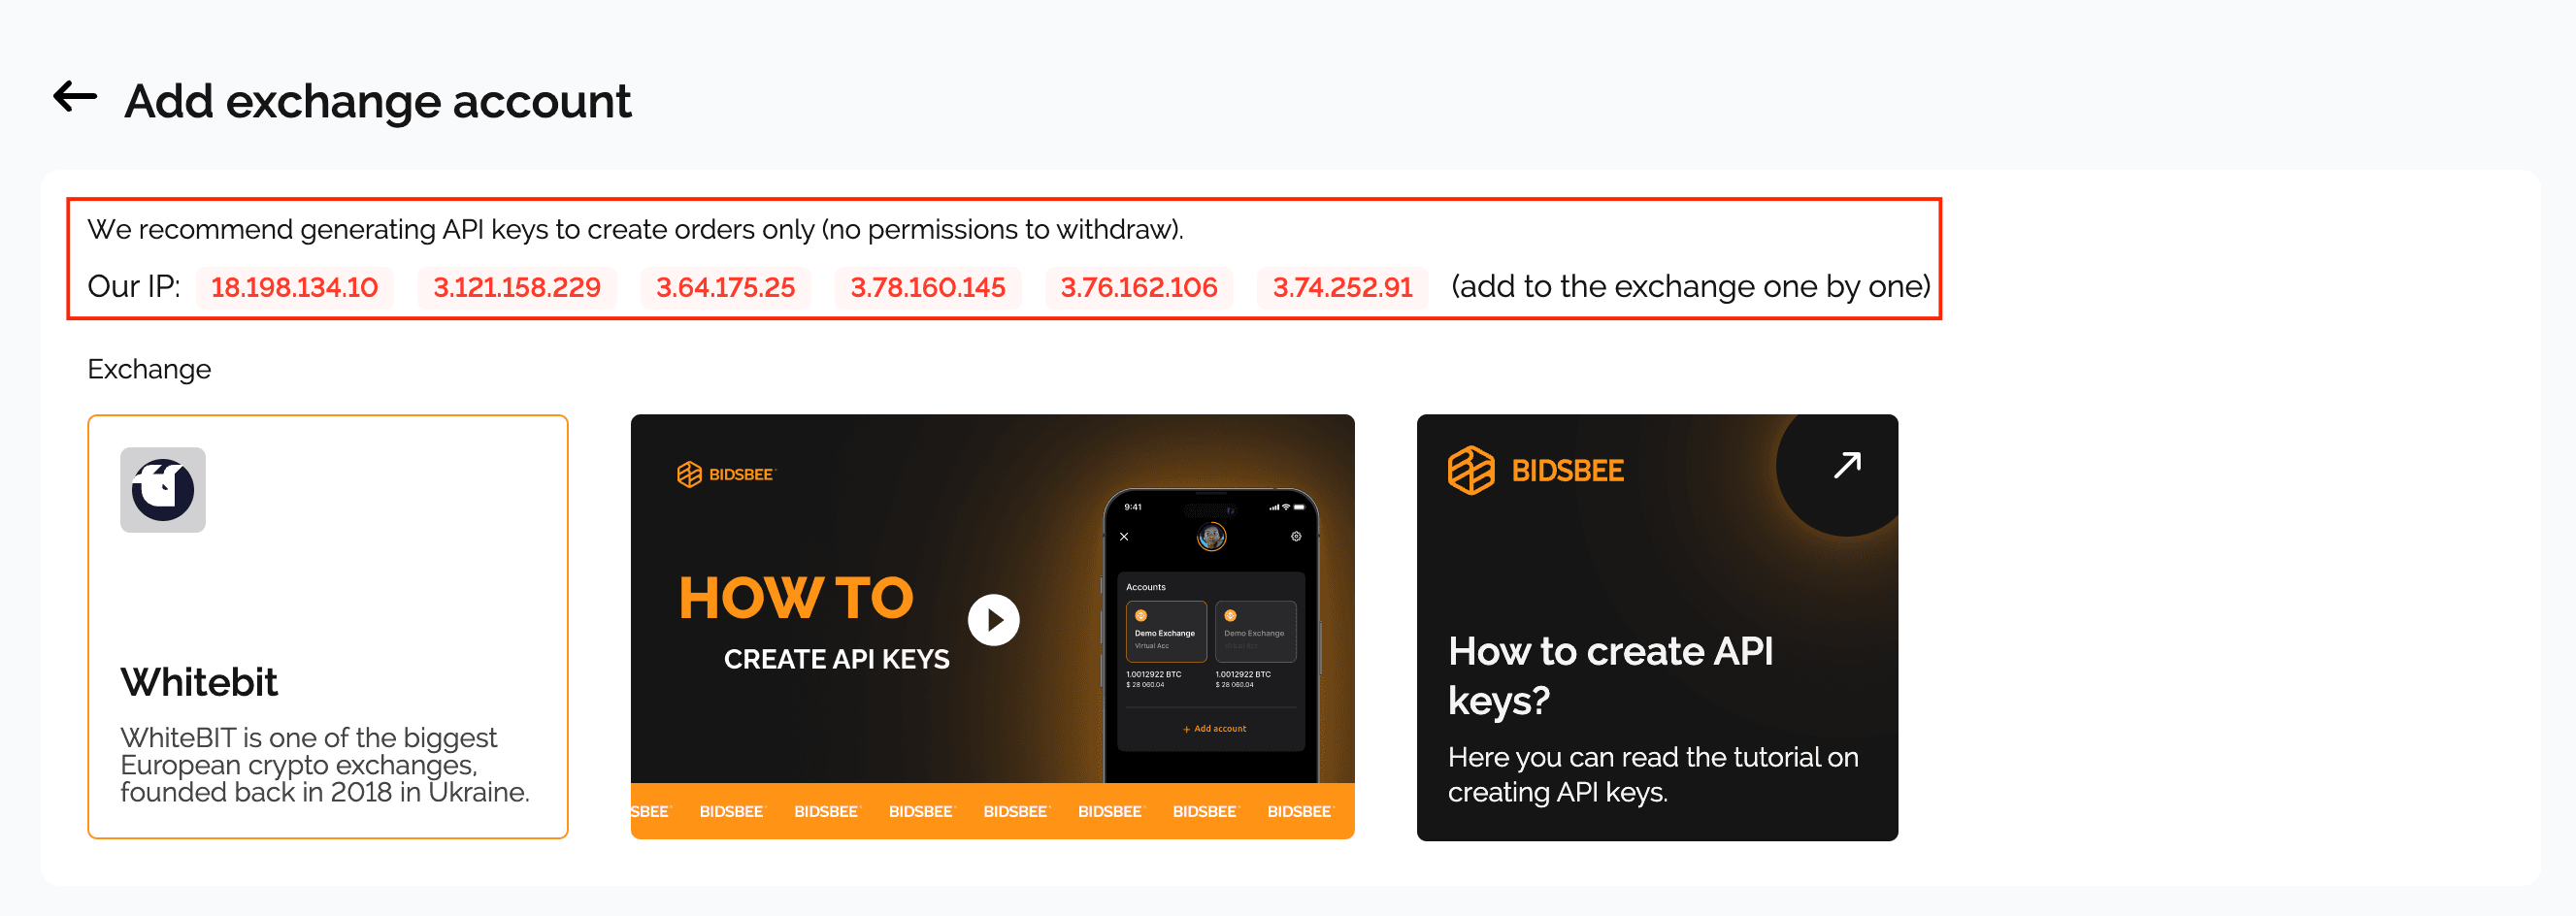
To connect your WhiteBit account to your Bidsbee account, you need to add Bidsbee IPs to the list of trusted IPs.
These trusted IP addresses are displayed in your Bidsbee dashboard. You can find them when you start connecting the WhiteBit account to Bidsbee by clicking on the Add API Key button.


Proceed with adding trusted IPs. Click on the IP access button.
Enable the option to add IPs, copy-paste an IP address from Bidsbee, and click on the Add button to add it.

Proceed in the same way to add all IP addresses from Bidsbee.
Enter the 2FA code from your authentication app again, and click on the Confirm button.

Proceed in the same way to add all IP addresses from Bidsbee.
Now, your API keys are generated, and you can add them to Bidsbee!
